The first thing I wanted to try making with my new Nesco American Harvest dehydrator (picked because it was $30 and had good reviews) was kale chips.
For those unfamiliar with the snack, kale chips are made of baked or dried kale which forms a crunchy papery texture. Traditionally T and I make these by tossing a bunch of kale with olive oil and baking at 300F for ~3min, but we have a 50% burn rate (the progression is: wilted and gross, chips!, burned byond use) so I wanted to try them in the dehydrator. . .
But first a handy kale tip!
The kale I bought looked very wilted, so I treated it like flowers, cut an inch off the stems and put them in a vase, and poof, perfect kale. I recommend this as a pre-step for recipes where kale will be eaten raw.

Kale chips work best with "Dino kale" (the kind in the above picture) which has one central vein.
Prepping the kale:
- Wash the leaves
- Using a sharp knife cut out the large central vein, and then bisect the two leaf halves to quarter the leaf.
For the oven:
- Toss 1 bunch with 1tbspn olive oil\
- Sprinkle on 1/16th tspn salt
- You can make variants by adding black pepper and lemon juice as well
- Spread out on racks in a 220F oven and leave for 20min
For the dehydrator:
- Optionally blanch the kale (see below)
- Lay the pieces out in a single layer on the trays
- Check every 30min (your time may vary from my results below) and be sure to taste the kale when you think it is done. There is a point where the kale looks dry but still has a chewy mouth feel and needs an extra 20min
My first batch of kale chips had a much stronger and bitter taste than the oven variety, so I decided to do a side beside comparison between untreated and blanched kale. To blanch the kale I put the cut pieces in a pot with 1 inch of boiling water and covered it for 2min as a sort of lazy steam.
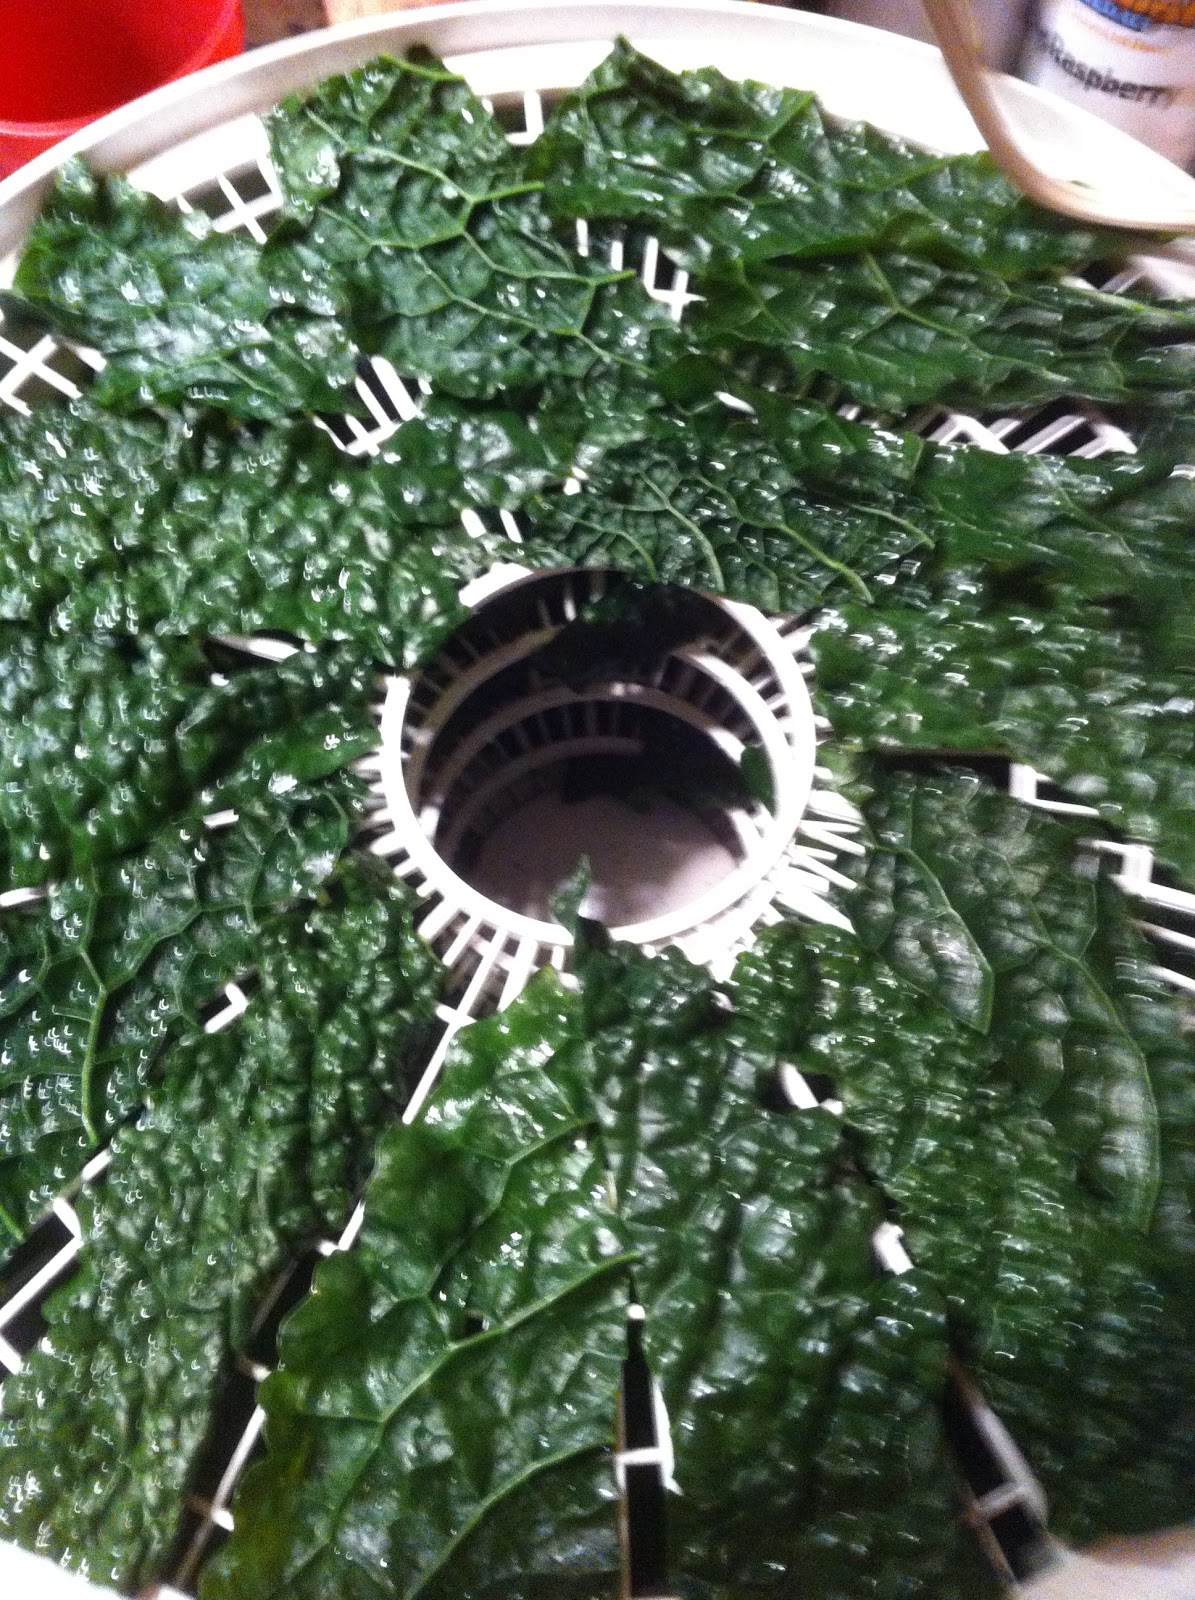
Here are the two types laid out int he dehydrator:

And here are the finished products:
 The blanched kale has a sweeter and less bitter taste, and a much prettier dark color (not that you can tell from this crazy yellow photo), so I recommend the step. I think these will be very good sprayed with a little olive oil and sprinkled with salt (our Misto is broken and I don't want to drench them, so I can't do the +olive oil test until I buy a new one). I feel like the taste over-all is more kale-y and less chip-like than the oven variety which fried a little in its oil coating, but will probably still preferentially make these since it felt less hands on, and there was less burning.
A final note on time: The unblanched kale took 2 hours and the blanched took 1 hour, so you really save on dehydrator time by blanching, which means it's a good option if you want to crank these out for a party or something.
Here are the two types laid out int he dehydrator:

And here are the finished products:

A final note on time: The unblanched kale took 2 hours and the blanched took 1 hour, so you really save on dehydrator time by blanching, which means it's a good option if you want to crank these out for a party or something.
No comments:
Post a Comment
Thoughts? Suggestions?